Difference between revisions of "Uriel's Art"
Jump to navigation
Jump to search
imported>Uriel |
imported>Uriel |
||
| (46 intermediate revisions by the same user not shown) | |||
| Line 6: | Line 6: | ||
{| border=0 width=100% | {| border=0 width=100% | ||
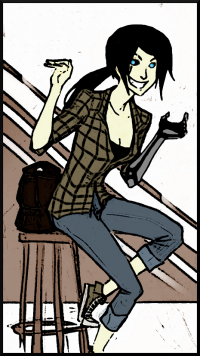
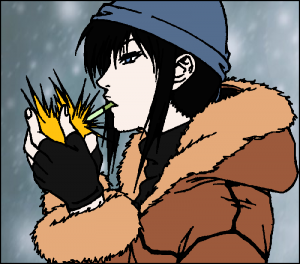
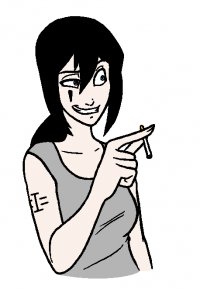
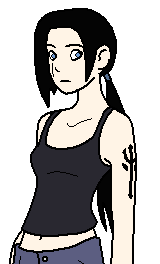
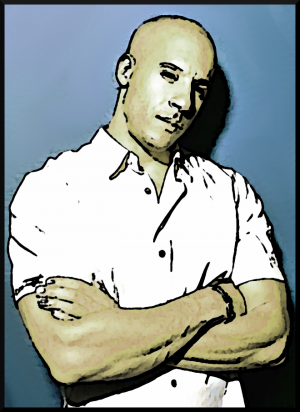
| [[Image:Eyes2.png|200px|thumb|center| Uriel]] | |||
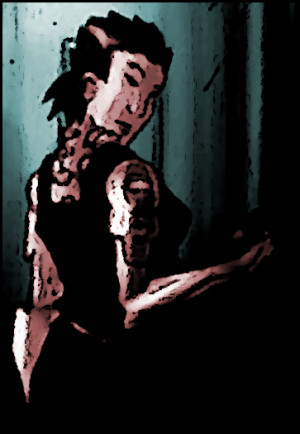
| [[Image:uri41.png|thumb|center| Uriel]] | | [[Image:uri41.png|thumb|center| Uriel]] | ||
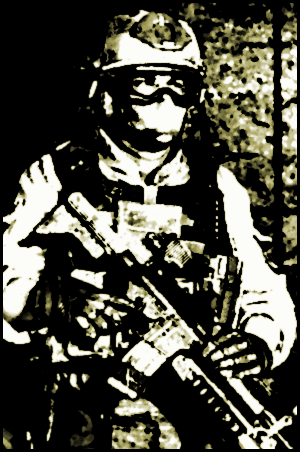
| [[Image: | | [[Image:NorleanSec2.png|thumb|center| Uriel]] | ||
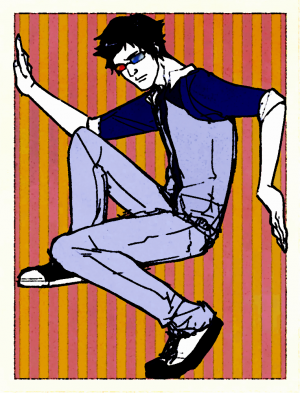
| [[Image:Uri2.png|200px|thumb|center| Uriel]] | | [[Image:Uri2.png|200px|thumb|center| Uriel]] | ||
| [[Image:Uriel 16.png|thumb|center| Uriel again]] | | [[Image:Uriel 16.png|thumb|center| Uriel again]] | ||
|} | |} | ||
{| border=0 width=100% | {| border=0 width=100% | ||
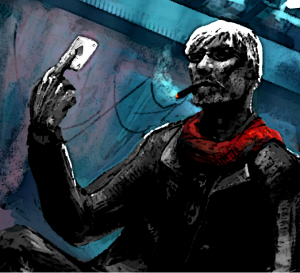
| [[Image: | | [[Image:HellRazer 5.png|thumb|center| HellRazer]] | ||
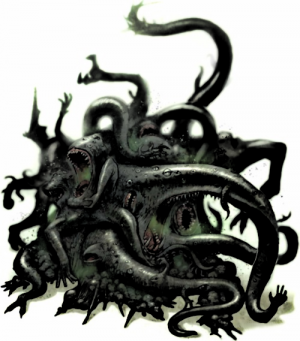
| [[Image:Infinite2.png|thumb|center| Infinite]] | |||
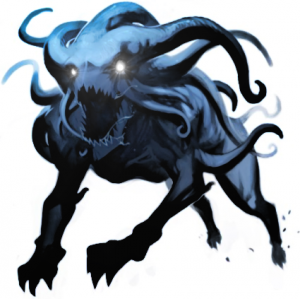
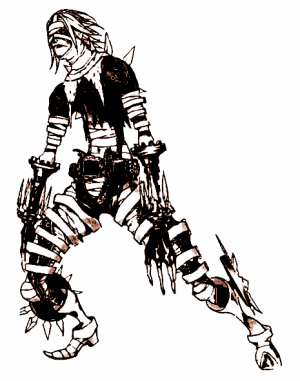
| [[Image:Tholluxth3.png|thumb|center| Tholluxth]] | |||
| [[Image:Maze2.png|thumb|center| Maze]] | |||
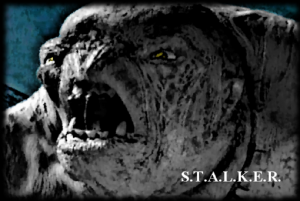
| [[Image:Stalker2.png|thumb|center| S.T.A.L.K.E.R.]] | |||
|} | |} | ||
| Line 29: | Line 26: | ||
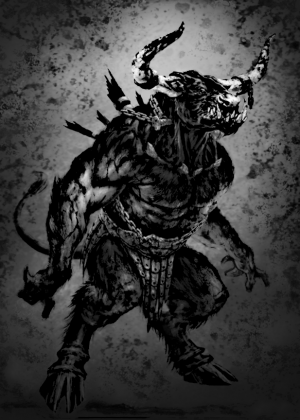
| [[Image:Minotaur.png|thumb|center| The Minotaur]] | | [[Image:Minotaur.png|thumb|center| The Minotaur]] | ||
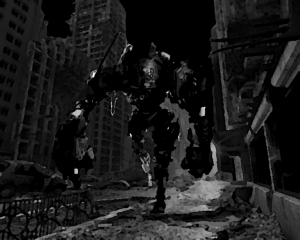
| [[Image:Junker.png|thumb|center| Junker]] | | [[Image:Junker.png|thumb|center| Junker]] | ||
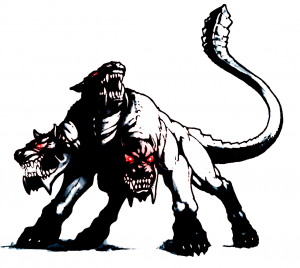
| [[Image:Cerberus.png|thumb|center| Cerberus]] | |||
|} | |} | ||
{| border=0 width=100% | {| border=0 width=100% | ||
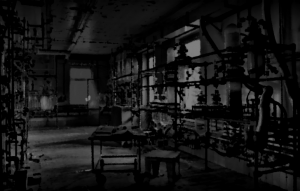
| [[Image:Shunt's Lab.png|thumb|center| Dr. Shunt's Laboratory]] | | [[Image:Shunt's Lab.png|thumb|center| Dr. Shunt's Laboratory]] | ||
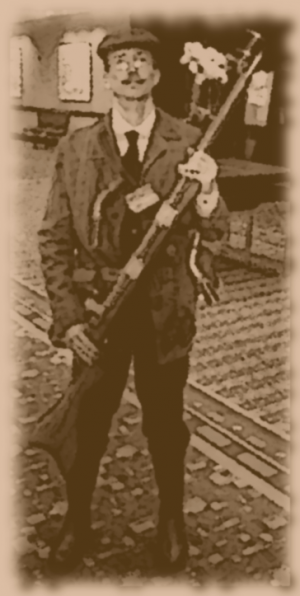
| [[Image:Dan Asty.png|thumb|center| Dan Asty]] | |||
| [[Image:Johnny Fiveaces.png|thumb|center| Johnny Fiveaces]] | |||
| [[Image:CareDog.png|thumb|center| Care Dog]] | |||
| [[Image:Heath1.png|thumb|center| Heath]] | |||
|} | |} | ||
{| border=0 width=100% | {| border=0 width=100% | ||
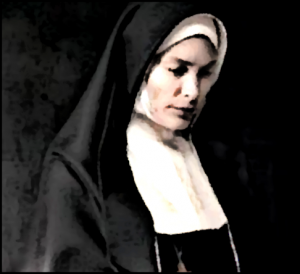
| [[Image:Agnes.png|thumb|center| Sister Agnes]] | |||
| [[Image:Leal4.png|thumb|center| Leal]] | |||
| [[Image:Ghost Dog.png|thumb|center| Ghost Dog]] | | [[Image:Ghost Dog.png|thumb|center| Ghost Dog]] | ||
| [[Image:TheMinotaur2 with lens flare.png|thumb|center| The Minotaur according | | [[Image:TheMinotaur2 with lens flare.png|thumb|center| The Minotaur according its description and what it was holding]] | ||
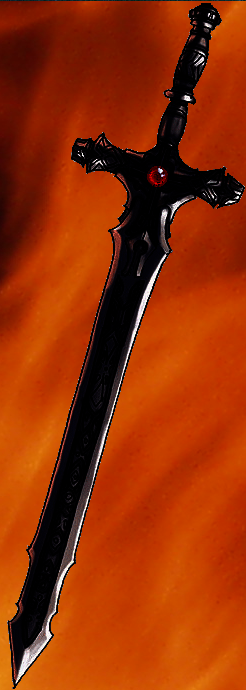
| [[Image:The Black Sword 1.png|thumb|center| THE BLACK SWORD]] | | [[Image:The Black Sword 1.png|thumb|center| THE BLACK SWORD]] | ||
|} | |} | ||
{| border=0 width=100% | {| border=0 width=100% | ||
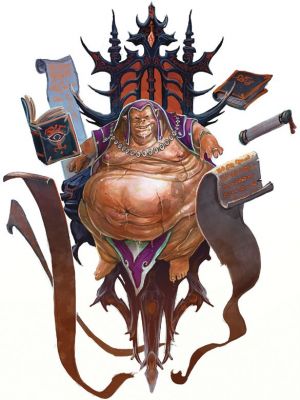
| [[Image: | | [[Image:Zardoz.png|thumb|center| Zardoz]] | ||
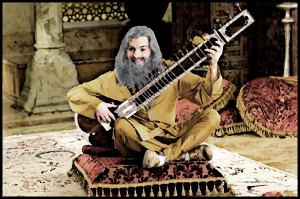
| [[Image: | | [[Image:Guru.png|thumb|center| The Guru]] | ||
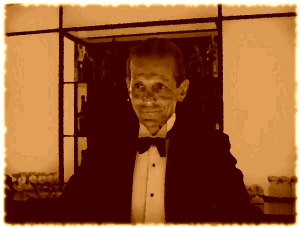
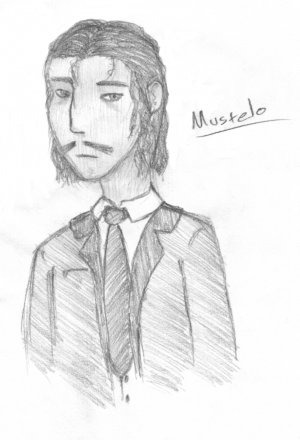
| [[Image:Mustelo 001.png|thumb|center| Mustelo]] | |||
| [[Image: | |||
|} | |} | ||
| Line 70: | Line 56: | ||
| [[Image:Necanthrope4.jpg|thumb|center| Necanthrope]] | | [[Image:Necanthrope4.jpg|thumb|center| Necanthrope]] | ||
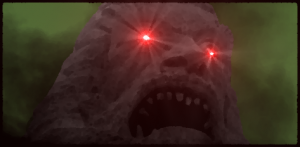
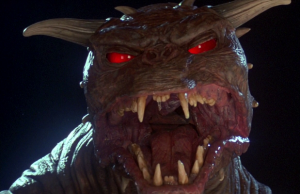
| [[Image:Zuul.png|thumb|center| NO DANA, ONLY ZUUL]] | | [[Image:Zuul.png|thumb|center| NO DANA, ONLY ZUUL]] | ||
|} | |} | ||
{| border=0 width=100% | {| border=0 width=100% | ||
| [[Image:HellMOO Darts.gif|thumb|center| Any Port]] | | [[Image:HellMOO Darts.gif|thumb|center| Any Port]] | ||
|} | |} | ||
